Saturday, September 29, 2012

Nail Breakage Nightmare

Oh no oh no oh no, I broke a nail! It sounds pretty superficial when you think about it but ouch, did this ever hurt! And it is going to take forever to grow out again.. But I refused to cut my nails back because of a stupid tear! rah rah rah. This post will be to show how I repaired it. Also, I've kept the same polish I used originally over this repair on for a week! A whole week! I'll show you what I've done to it to keep from losing my mind, stay tuned.
That's the tear, bleh, seeing it again makes my pinky sore. I used a teabag and some nail glue to fix this up, you've probably seen posts about it before.
The glue
A piece of the teabag
You just pop some glue on the nail over the tear and place the teabag strip onto the glue over it. nudge it down with an orange stick or whatever you have on hand and layer a bit of glue over it again, then let the whole shebang dry with the teabag staying flat to your nail and covering the whole tear.
Sorry for the blurriness here, I was in the middle of placing the teabag when I took it.
I had the most difficulty with keeping the teabag in place for this. I ended up using a touch too much glue to attempt to compensate, but I just rubbed it away before it dried and everything was alright. I think I had such a hard time because my pinky is such a small, curvy nail and the teabag wanted to be straight, glue or no glue.
But I managed to get it to stay mostly down with judicious poking. Once it dried I just filed away the excess and smoothed the edges, being very careful not to file away any of my new teabaggy protection.
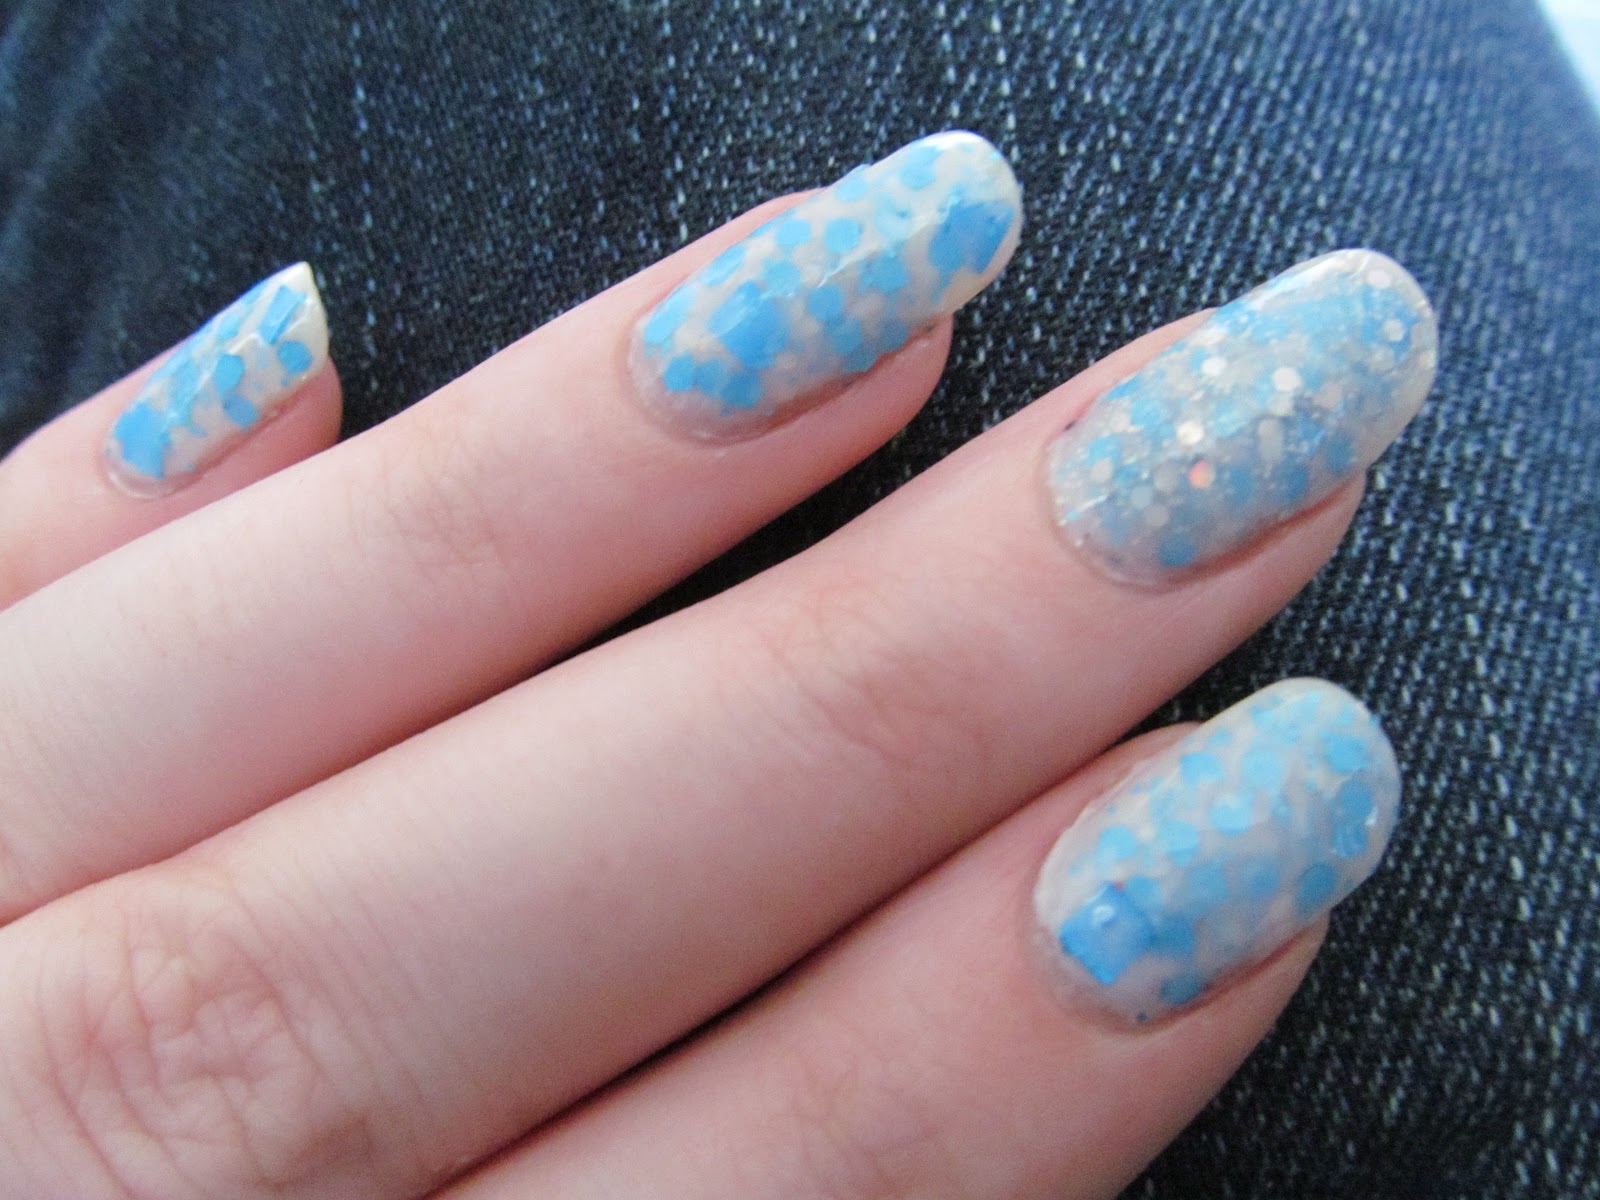
Isn't it hard to see once it is all dry? With polish over it you couldn't see a bump or anything at all, but I did use a glitter because I was worried it would. I wish I'd experimented with clear top coats to see the visibility of that but who am I kidding, it took me a week to get over this enough to post it!

Anyways, that's a summary of my nail breakage experience, which happened last Sunday. Not fun, this is the first break I've had in.. well years and years and I can't remember when I've done it before, but certainly not ever this badly. But a week has gone by and everything is going well and you'll get to see fun with polish layers and the sheer staying power of indie glitters as a result so I guess it isn't all bad.

Thursday, September 27, 2012

White Jelly Sandwich

Here is another jelly sandwich, this time using China Glaze Techno and OPI Don't Touch My Tutu!
I liked this mani, you can see my nail line but I don't mind it here and it is nice and subtle. I made sure to only use one coat of Techno, maybe a second of dabbing glitter about on spots that didn't have any big glitter pieces around just to make sure it stayed subtle.
Ooh, closeup!
And another! I used one coat of Don't Touch My Tutu! and then did Techno on top, then I used two coats of Don't Touch My Tutu! above that and finished off with SV to top coat.
This is a good shot to show how subtle and light it was to wear.
And this is with flash just to give you a hint of the rainbow shine you can get with Techno.
What do you think of this one internet?


Tuesday, September 25, 2012

Color Club Red Velvet Swatch

 So polish swatches aren't that common for me, but this one is really pretty spectacular. Take a look.
This is Color Club Red Velvet, a black polish with red glitter. It's oh so gorgeous, I can't get over how much I love it. I wore this polish for a long long time for me, I had it on for four days straight just alone and I'm still thinking of how to use it next.
 It looks different depending on the light, it was mistaken for a straight black a couple times and I enjoyed showing off the red sparkle to it when that happened.
 Here is a good picture of it looking mostly black. It took three coats to be totally opaque but it went on so smoothly and the red glitter was perfectly even. Pretty quick dry time too.
 Sorry for the shadows in this photo, it was hard to get good pictures of the red being really noticeable, I'm sacrificing photo elegance to get the red to you as best I can.
Sigh, aw, look at it, so nice.

Sunday, September 23, 2012

Pink and Black Splatter

Oh wow, being back at school is incredibly busy. But don't worry, I've been taking pictures of my nails while not posting all week and now I have a fair sized backup of nail designs to show you. That means that the next time things get busy I have some wiggle room, which is really neat.

Anyways, here is a really fun one.
This is done with cling wrap, bunched into a ball and dabbed into the polish and onto my nail, rather than pushed onto the nail to remove polish as I've seen in some tutorials. There is a lot you can do with cling wrap so it's great to experiment with.
I used four nail polishes in this design. The base colour was GOSH Rose, and then I did a layer using cling wrap of each of the following: Color Club Electro Candy, ACO Tuxedo and GOSH Silver.
The silver over top of it all blends the whole look together a lot more, before that it was very stark which is another look and was quite nice on it's own.
All in all this was easy and quick to do and I like how it turned out. What do you think of this design?

Friday, September 14, 2012

Blue Jelly Sandwich

Ooh, look how pretty this is! Glittery lil jelly sandwich, aren't you cute!
To anyone who hasn't done this before, it looks really very neat in real life. The picture shows it in high detail and close up which is one aspect of it, but the one I enjoy the most is spotting your nails randomly during the day and initially seeing a pale pale blue that slowly resolves into this intricate, depth filled manicure.
I used OPI Don't Touch My Tutu! for the bread part of this sandwich. It is a milky, translucent white that applies fabulously. This is my first time using all of the polishes in this design and I adore Don't Touch My Tutu. Amazing. My middle finger also has a coat of China Glaze Techno over the blue glitter. My excuse was an accent nail but mostly I wanted to try a glitter that applies well after using that blue one.
The blue glitter is from Claire's and is called Ice Ice Baby. I love it in the bottle, the name made me smile in embarrassed nostalgia and the hexagonal glitter chunks with the smaller pieces of glitter are really quite pretty, but it also comes with an awful lot of big square flakes of blue glitter which I didn't love and applies like spreading concrete filled with chunks of glitter. I entirely understand what other bloggers mean when they say they find themselves pushing glitter around on the nail cause whoa, that's what I did here trying to get a nice even distribution of glitter without too many of those huge hunks of blue.

It was also incredibly bumpy and sharp edged. The blue squares of glitter all curve slightly and if I couldn't get them to face down then even in the finished design, which had two coats of Don't Touch My Tutu! and two coats of SV over top was still sharp in a couple places. But gosh.. it is so pretty.. 
I think I'll do this again anyways. Removal is happening now.. I'm out of polish remover mid-removal and I'm going to have to pop down to the shoppers near by to buy more while the glitter isn't quite gone and I'm still saying I'll do it again. Maybe I'll start pulling out the squares of glitter as I take out the brush from the bottle and maybe I'll give that PVA Glue thing that is going around a shot for easy glitter removal but I'll definitely do it again.

What do you think? How much better is this with a higher quality glitter?

Monday, September 10, 2012

Purple and Gold Jelly Sandwich

I like this one. It was a lot of fun. I wanted to try doing a jelly sandwich but I didn't have any really interesting glitters. Guess I need, that's right, need, to buy more! But either way what I ended up with is pretty neat.
I used GOSH Gasoline for my purple because it is pretty sheer, I did a couple coats of it on all but my accent nail first. Then I used Misa Disco Queen for the gold which I put on every nail, but lightly on the purple ones.
I did another layer of Gasoline over the gold very lightly so you could still see the gold underneath, and on my accent nail I did a coat of Sally Hansen Big Money over the accent nail.
This is what it looked like then, and I felt like it wasn't quite right yet. Also, whoa pointer finger, why must you be so woobly? I filed away and re-did the shaping on my nails once I saw how strange it looked from this mani in some of the photos.
I did a band of gold again on each nail to give it a little something extra and to give a little continuity to the design.
And here I go with Abraxas again, showing off nails and snake at the same time. He's just so pretty!
What do you think of this design? Can it still count as a jelly sandwich?

Saturday, September 8, 2012

Silver Bands with Gold

Check it out! Silver bands with gold accenting it.
I chose this because I was glancing through my polish and saw these three silvers, all a little different. I thought it'd be fun to layer them by complexity so that's what I did. I started off with Revlon LilyChrome, which is just a nice silver chrome polish. It dries incredibly quickly so it didn't take long before I could use some tape to make a diagonal line and do a coat of GOSH Silver. Then I did a coat of Color Club Worth the Risque, which is still silver but holo too. Misa Disco Queen was used for the gold accents.
This is what it looked like before I added the gold, sorry for not tidying it up before taking the picture! I liked it but it was a bit too simple. Which do you prefer?

Thursday, September 6, 2012

Silver Circles on Mint and Pink

Take a look at this design internet!
I love these two colours together, they are Essie Fiji and GOSH Mint. I started this mani without any plan, I just knew I wanted these two colours complementing each other.
Once it was done I chose GOSH Silver to accent it and used my dotting tool to make some differently sized dots. Then I just filled them in with smaller dots of the original colour. With a good top coat over it everything was smoothed out and it didn't look like concentric dots anymore but actual silver circles. Yay!
What do you think? I like this as a nice simple way to jazz up plain old polish.

Tuesday, September 4, 2012

Polish Days - Geometry


This is my first time participating in Polish Days, put on by Polly Polish. I was super excited to participate and I'm still super excited to see what everyone else has come up with!

The theme was Geometry this round, chosen for the back-to-school-ish time right now for lots of folks. This is my last year as an undergrad so I loved the theme as well and I'm pretty happy with what I came up with. I started with white and used a tiny tiny paintbrush to draw the blue and pink lines by hand. Then I did the same with black for my geometry formulas. I finished off with a matte top coat to make it look more papery.


I went more for the math side of things than geometrical shapes or whatnot. You get to see how well I did on my right hand too since I wanted something different on every nail. It took me forever to do my right hand to something I was happy with, what with the tiny little letters and all.


I had a lot of fun with this design and with this event. What do you think?

Thanks for looking, and you should definitely go take a peek at the other participants too below. I'm really excited to see what they've come up with and I'm sure it'll be super.


Related Posts Plugin for WordPress, Blogger...